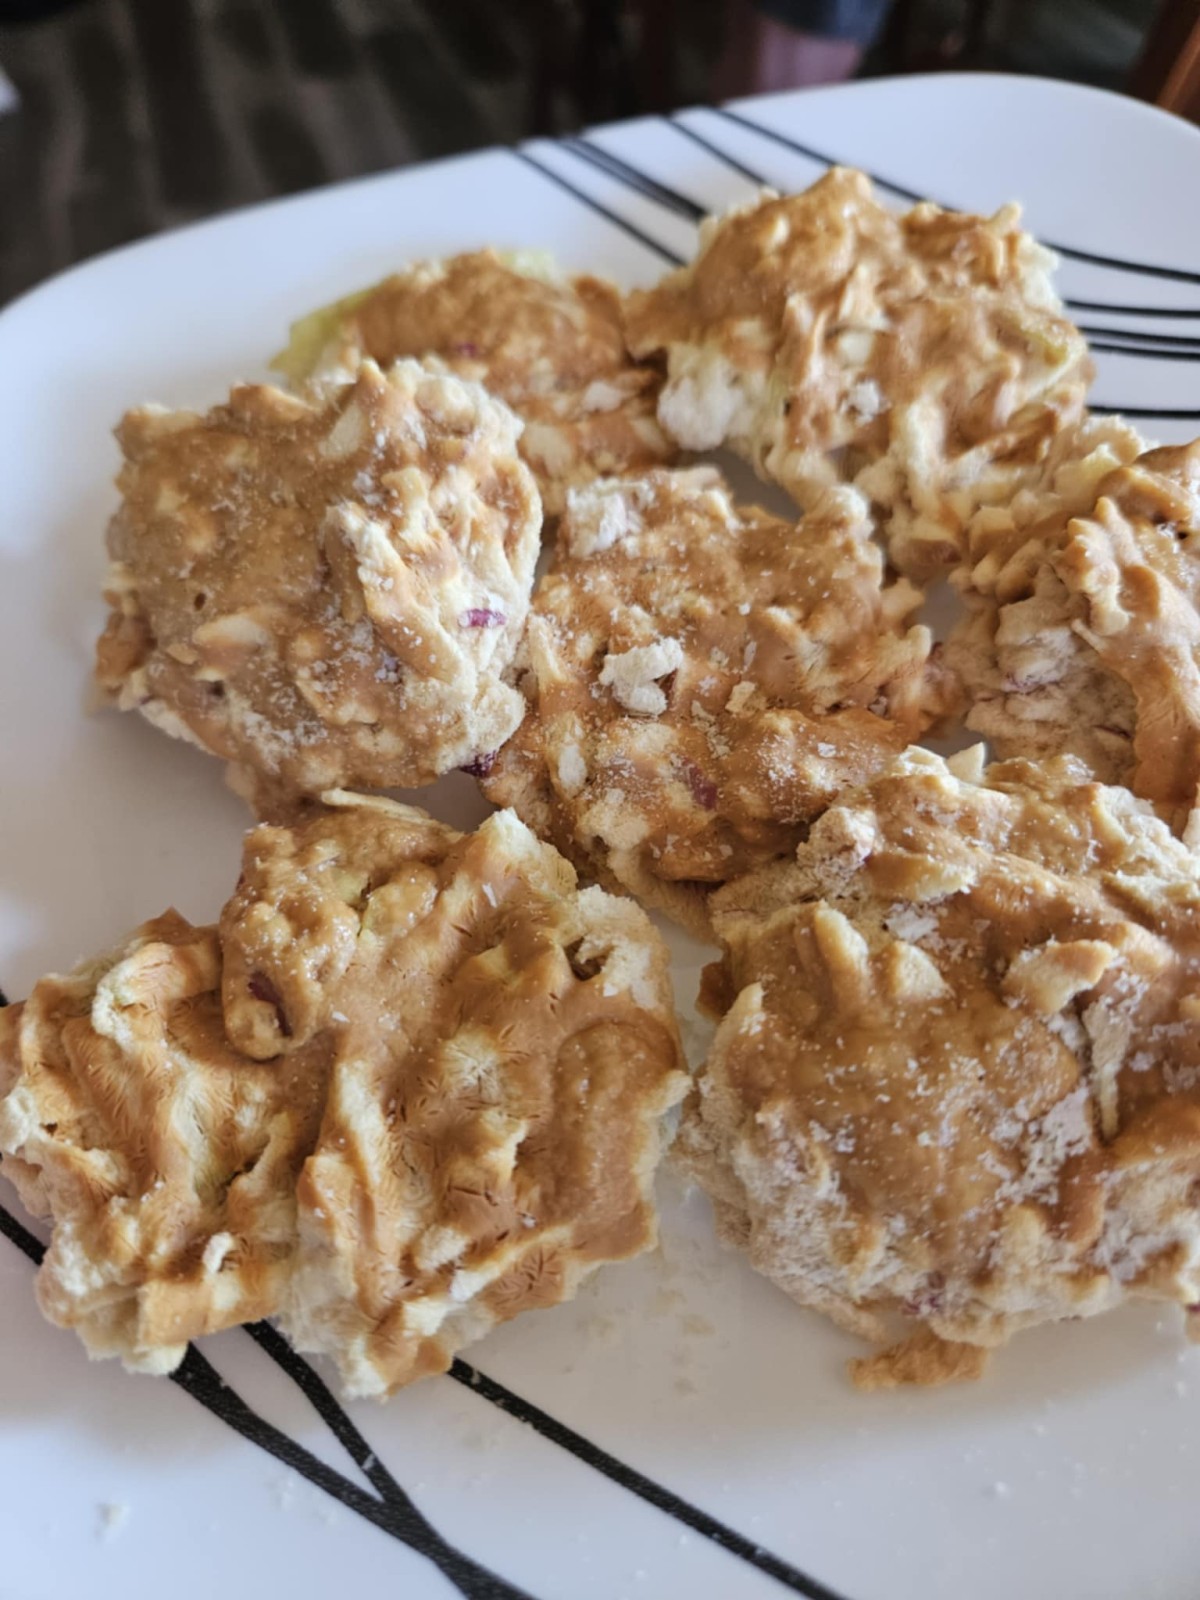
Freeze Dried Caramel Apple Haystacks
Most of us have had a caramel apple at some point in our lives. Maybe once, in the fall, as a young child. Maybe as an adult, and you splurged on one of those giant, gourmet caramel and chocolate apples that got super popular a few years ago. I made caramel apples with my daughters a few times when they were younger. However, as I've been making cleaner choices in my home and my food, caramel is one of those things that had to go.
Until now. While out in Salt Lake City, UT at the Young Living convention a couple weeks ago, a dear friend of mine mentioned a caramel recipe that she had been using that was made without sugar. Let me tell you, I was all ears!
A few days after I got home, my daughter sent me a reel on instagram where someone was sharing ideas for the freeze drier, and it included these Caramel Apple Haystacks. We decided to combine the freeze dried snack with the homemade caramel sauce, and the results...well, I'll let you judge for yourself. Below the recipe, you'll find a few extra pictures to help you visualize the steps, if you have questions!
Ingredients:
10 medium apples
1.5 - 1.75 C. Yogurt (adjust to preference)
How to Make:
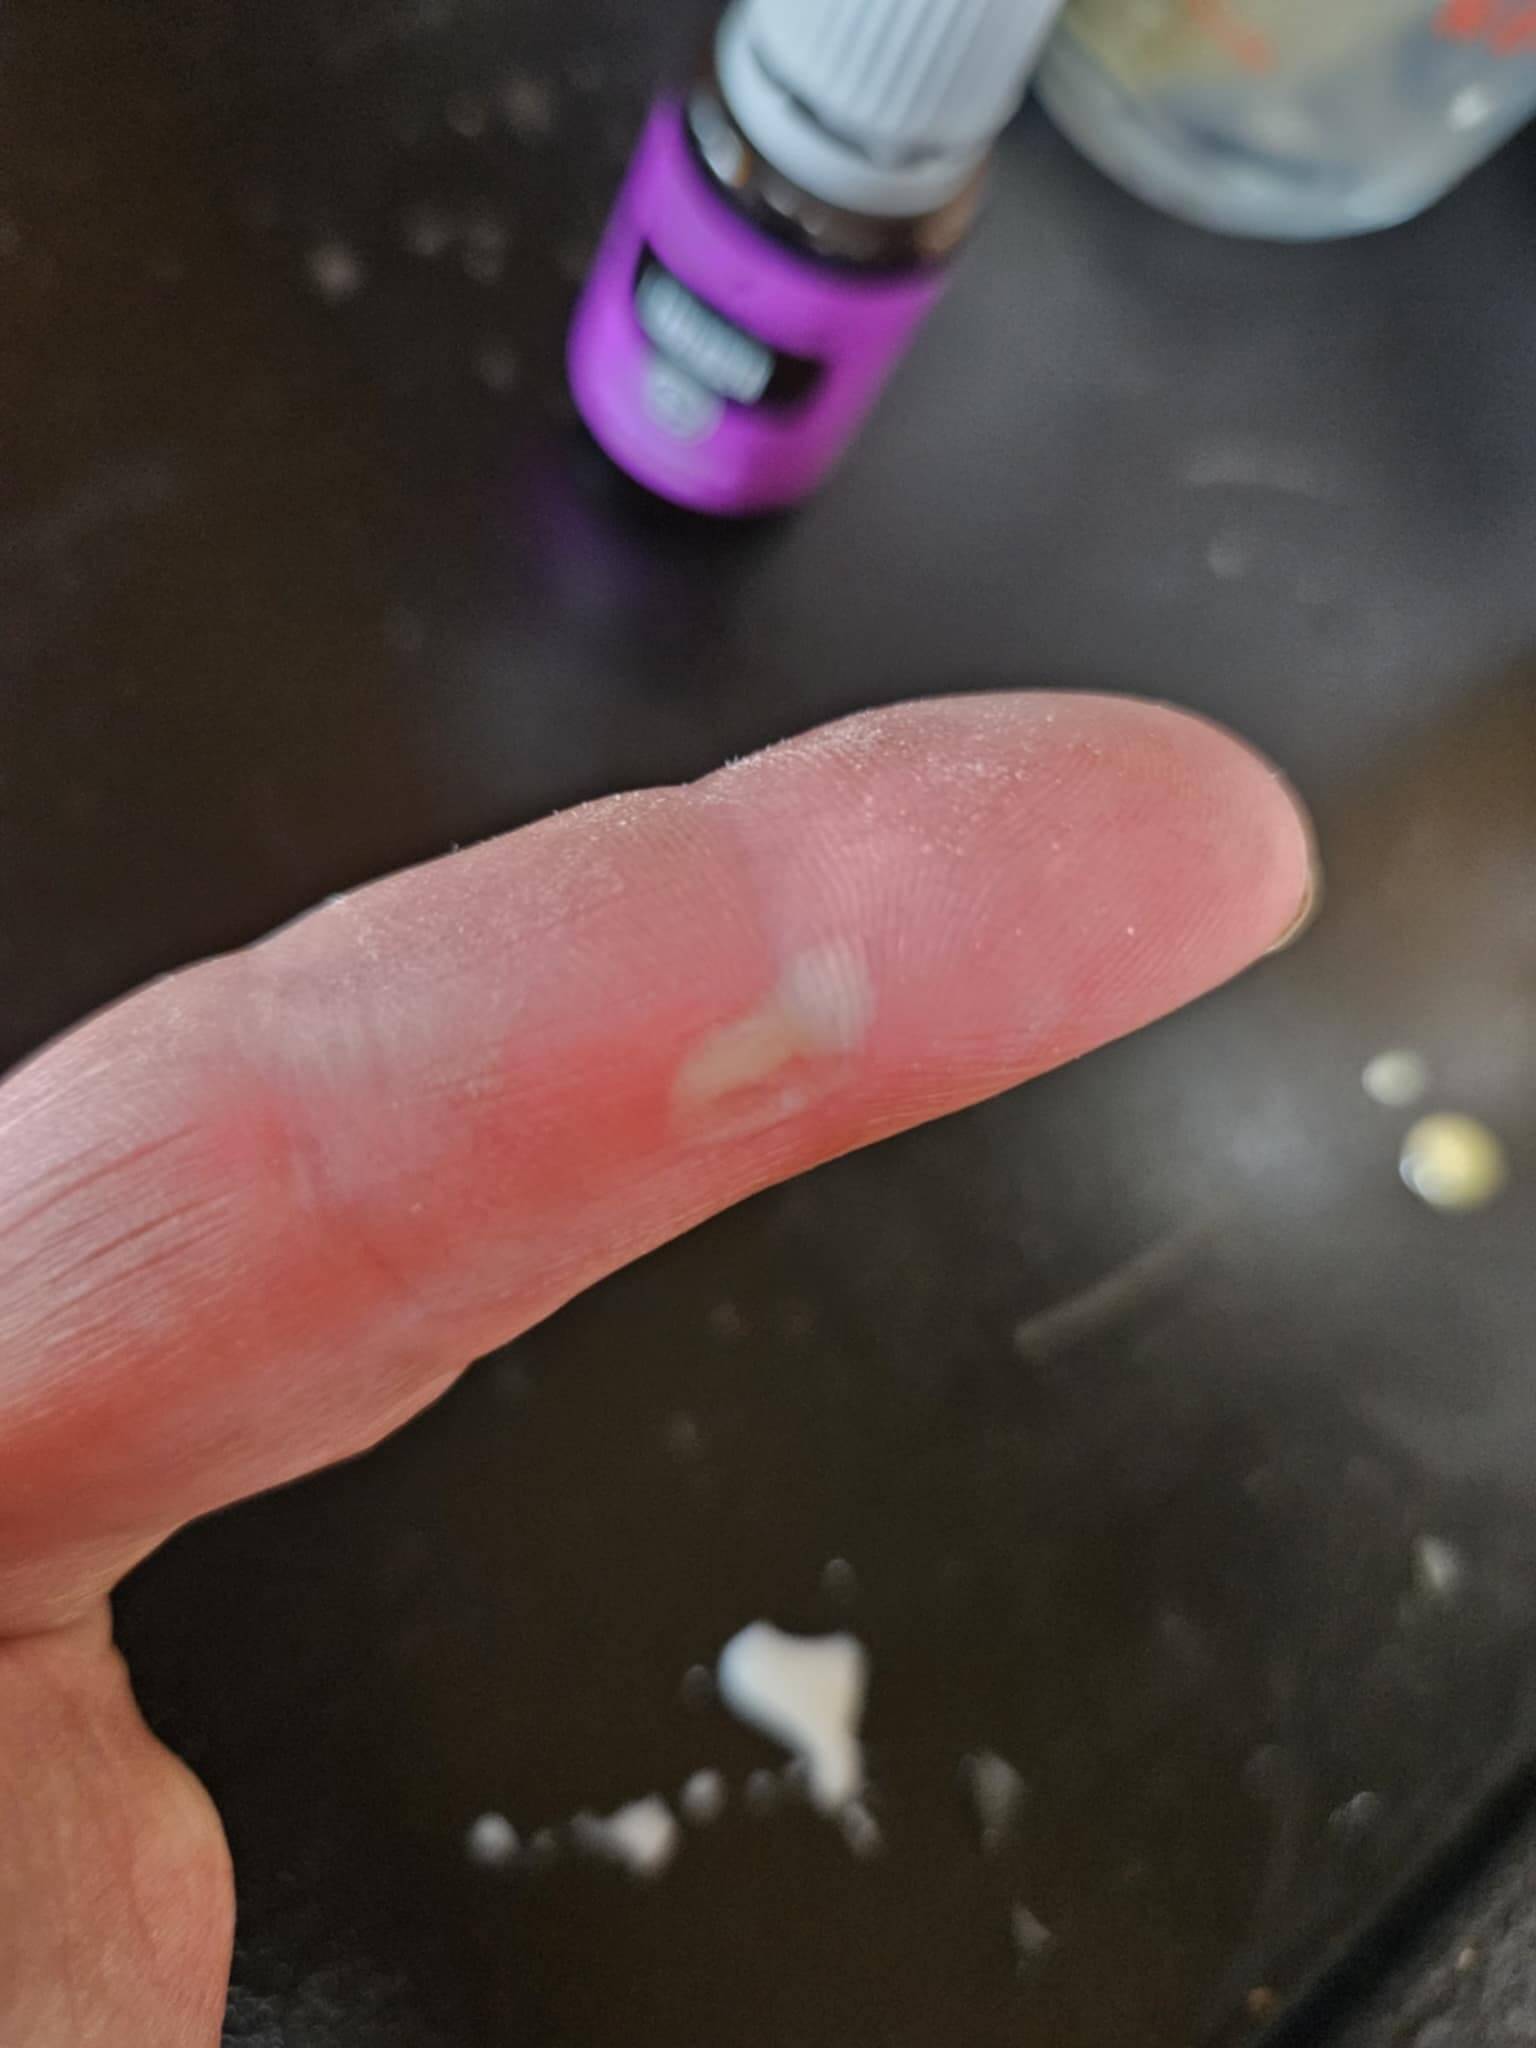
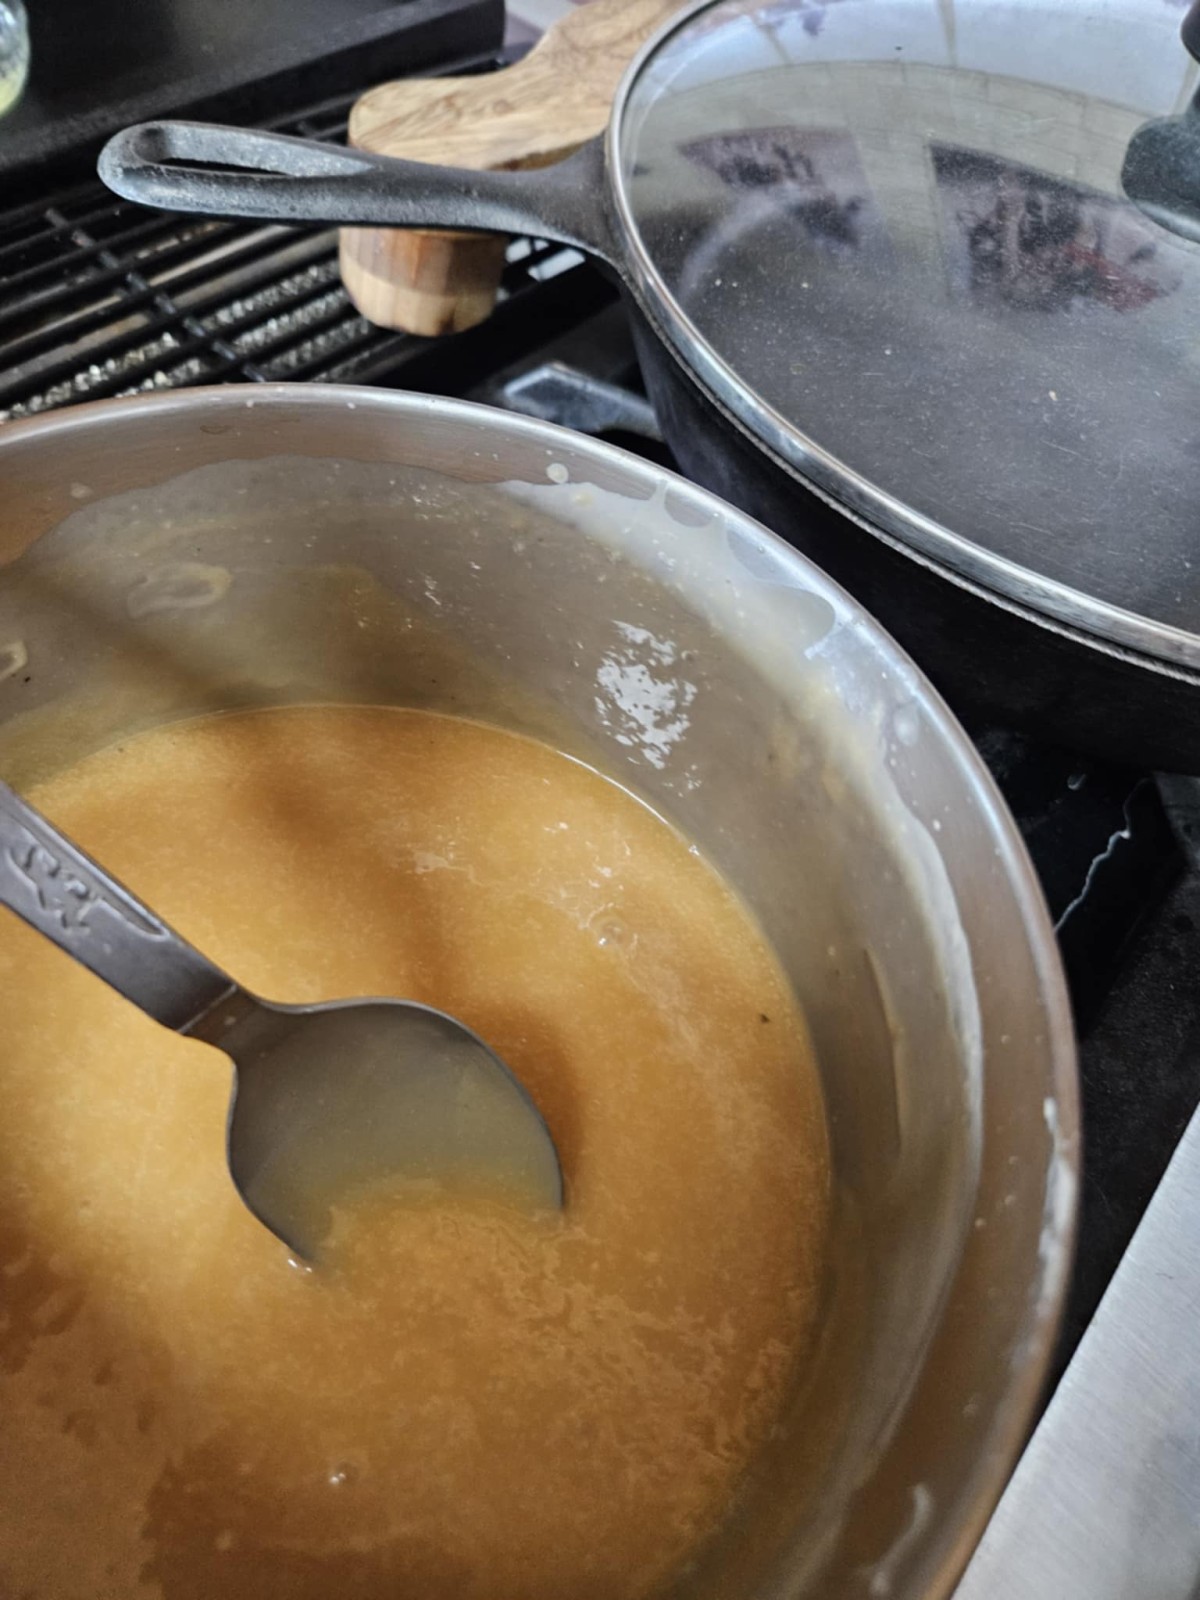
- Start by making your caramel sauce, so it can start cooling while you get the apples ready. Use caution! The caramel mixture is very hot, and can burn you!
- Shred your apples. Any small sizes will do - chop into tiny pieces, julienne, or shred.
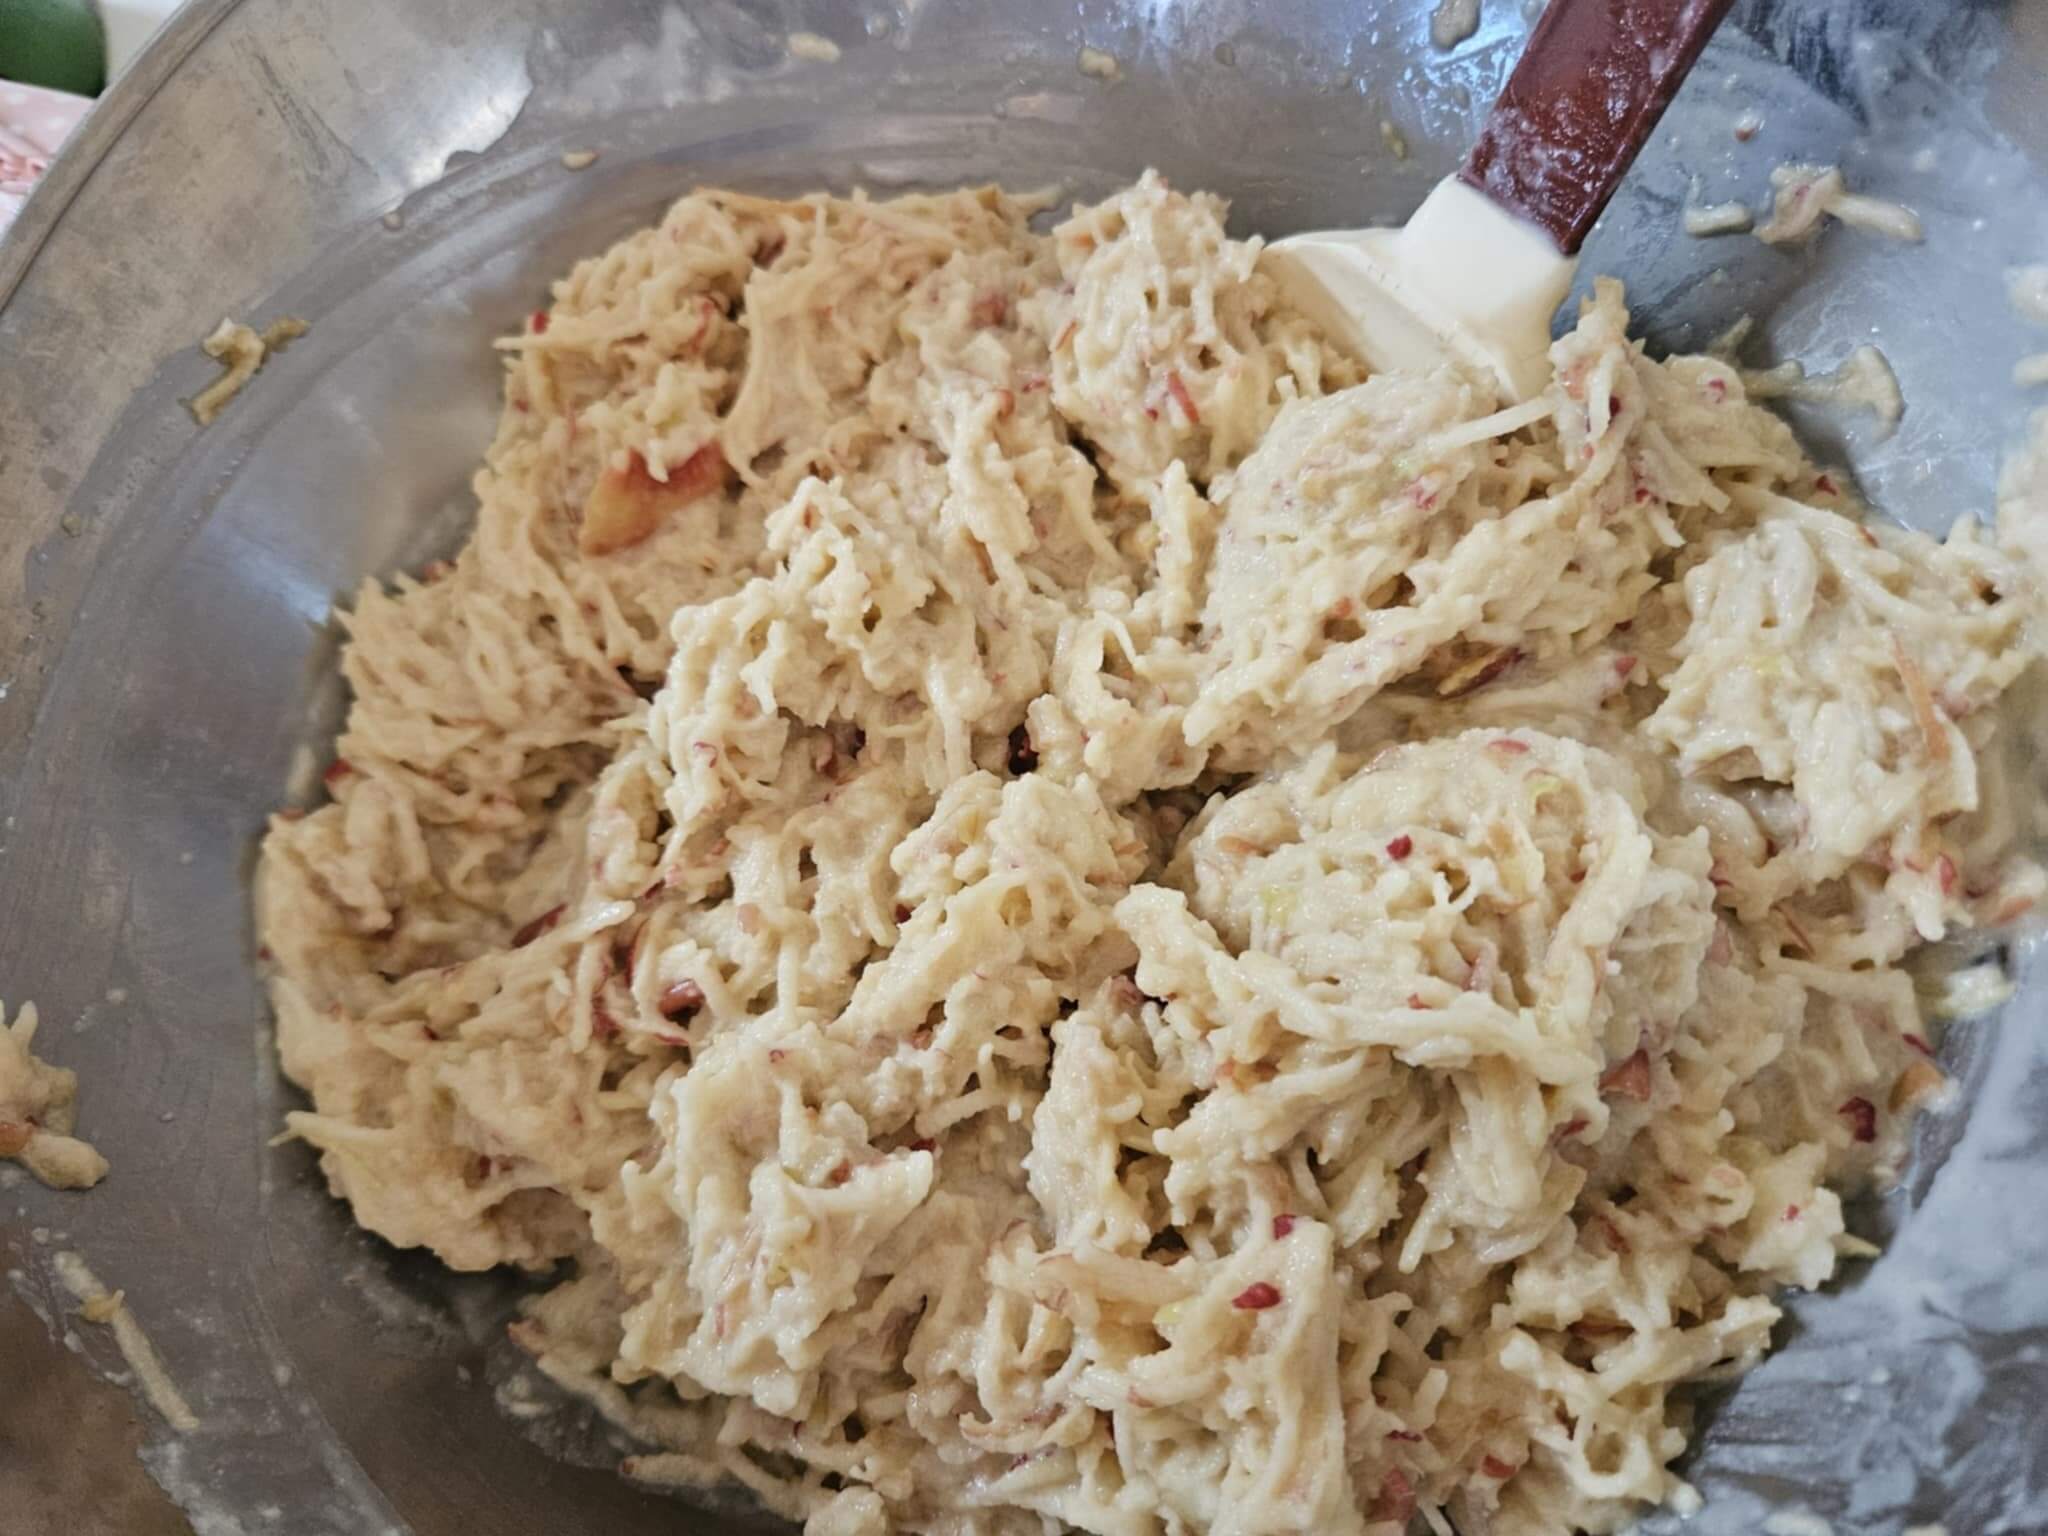
- Mix the yogurt into the apple shreds. You'll want a good coating, but not so much that it's sloppy. You want to be able to make small 'haystacks' or piles on your tray. Mix well, to make sure it's fully combined.
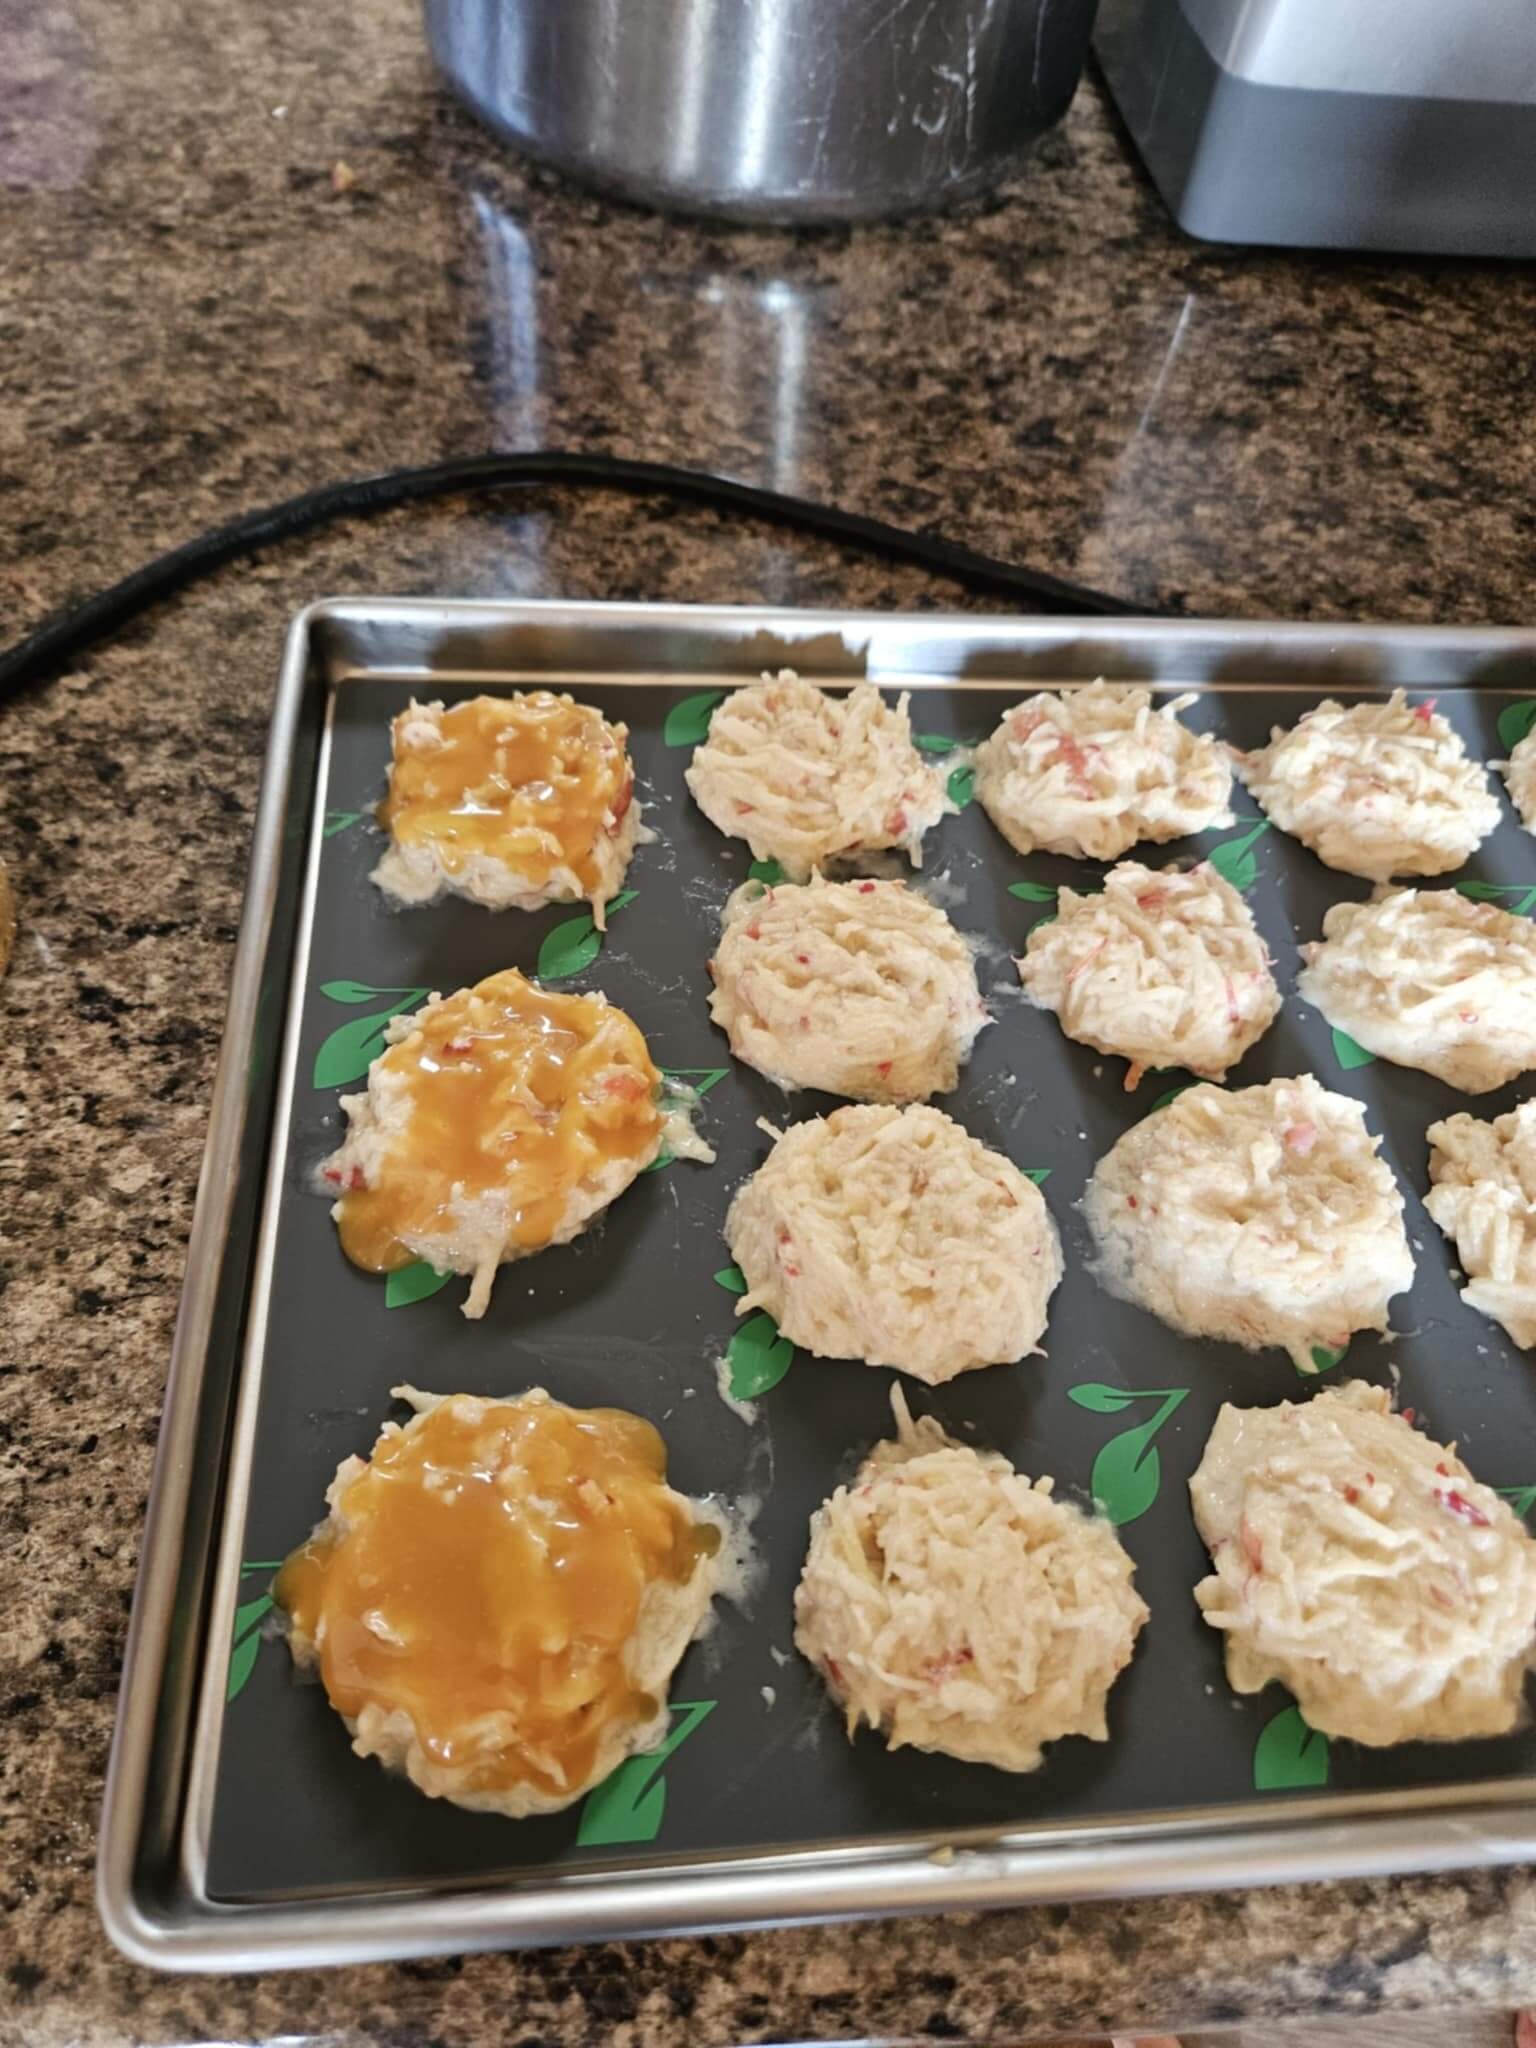
- Scoop apple mixture onto freeze dryer trays. We did roughly 1/4 - 1/3 C. scoops onto the tray. Make sure to flatten them out enough that the tray fits into the rack in the freeze dryer.
- Once you've scooped your apple mixture onto the trays, it's time to drizzle the caramel. This is another chance to make these your own - you can drizzle as much or as little as you want, but you will very likely have extra caramel.
- Freeze your trays for 48hrs before moving to the freeze dryer, and turning it on. Mine went for about 24hrs, and then some extra dry time, because my freeze dryer got done overnight, but yours will depend on many factors, so just watch your freeze dryer as usual.
This recipe should fill roughly one tray for the XL Harvest Right Freeze Dryer (10.9" x 29.5"), so keep in mind that you might need to scale for your purposes.
More Details:
Apple shreds mixed with the yogurt. This is roughly the consistency that we've been looking for, and have been pleased with the results!
These won't puff up excessively, like some items do in the freeze dryer, so don't feel like you need to leave too much extra space. You can also see our caramel coverage here - again, feel free to adjust to your own preferences.
BE CAREFUL! The caramel is HOT as you are melting the sweetener and then adding the cream, etc. I always recommend keeping a bottle of lavender handy in the kitchen, just in case, but use caution when you're making the caramel!



0 Comments